How to install Smart Doorbell Camera (wired).
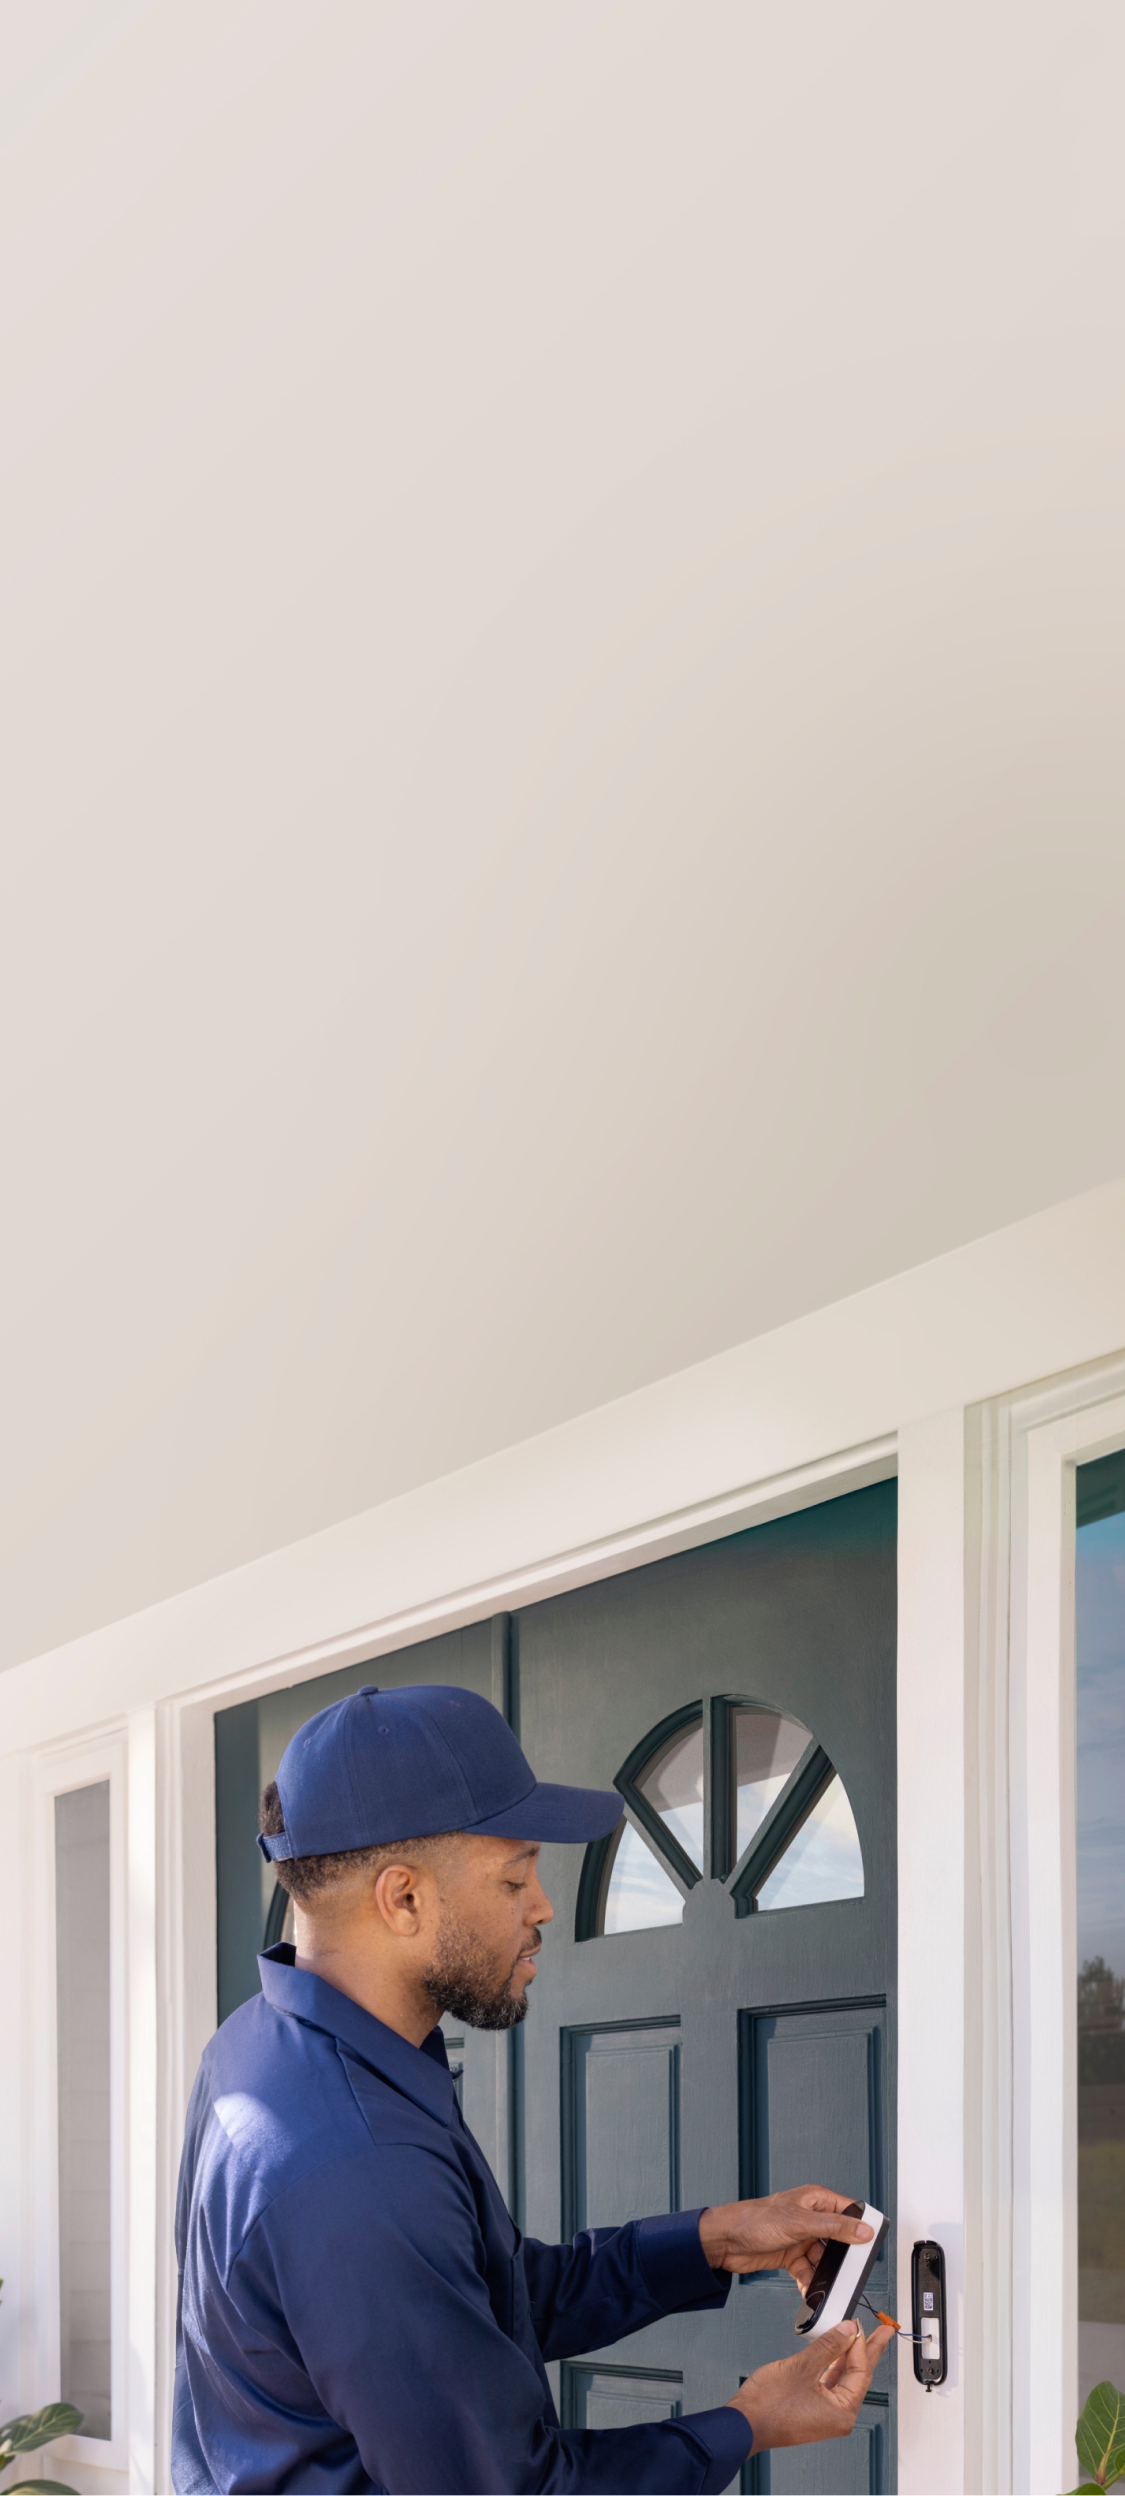
In most homes, installing an ecobee Smart Doorbell Camera is an easy process that takes about 45 minutes. Follow the steps below or scroll further to watch the installation video, find wiring diagrams, troubleshooting tips, and more.
- Check compatibility with your doorbell system and in-home chime
- Download the ecobee app to install your doorbell camera


Compatibility and installation
Getting started with your Smart Doorbell Camera
Learn all about your new doorbell camera
Here's what you'll find in the box.
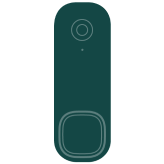
![illustration of smart doorbell camera]()
Smart Doorbell Camera
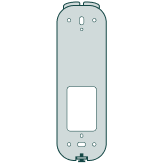
![illustration of the backplate of smart doorbell camera]()
Backplate & security screw (pre-attached)
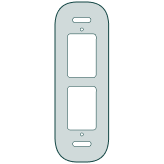
![illustration of the back of smart doorbell camera]()
Wedge
![illustration of ecobee chime adapter]()
Chime Adapter
Also included:
- 2 wire extenders
- 5 wire connectors
- 2 long screws and 2 anchors (brick only)
- 4 short screws
Tools you’ll need:
- Needle-nose pliers
- Phillips screwdriver
- Drill
- ¼” masonry bit (hard surfaces) or 5/64” bit (soft surfaces)

Have your Smart Doorbell Camera (wired) professionally installed.
Enjoy the ultimate in white-glove service with TechEasy, our Canada-wide doorbell camera installation partner.
- Fast, courteous professional installation.
- Hands-on help with all of your questions answered.
- All work backed by TechEasy’s limited warranty.


