How to install your ecobee SmartThermostat with voice control
In most homes, installing an ecobee thermostat is an easy process that takes about 45 minutes. Follow the steps below or scroll down for installation guides, wiring diagrams, troubleshooting tips and more.
- Check compatibility with your HVAC system
- Download the ecobee app for step-by-step installation instructions
Guides and manuals
Getting started with your SmartThermostat
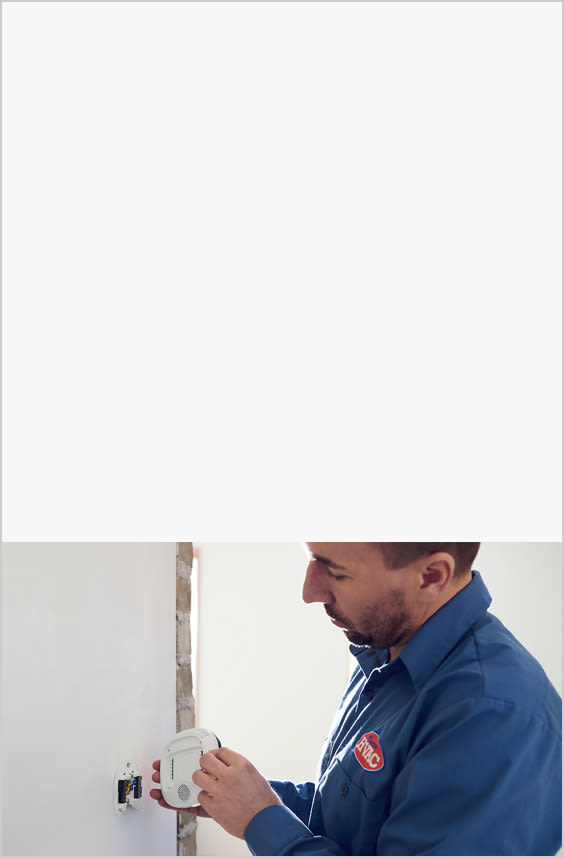
Not the DIY type?
Hire a professional installer to get your ecobee device up and running quickly.
Brendon Aldridge, owner & technician
ecobee-trained professional
Troubleshooting:If your ecobee doesn’t turn on, please try these steps.
Troubleshooting
:
If your ecobee doesn’t turn on, please try these steps.Check your wire and terminal connection
Check your HVAC cover panel
Ensure your R wire is inserted into the proper terminal
Ensure your wire and terminal connections in the Power Extender Kit are secure
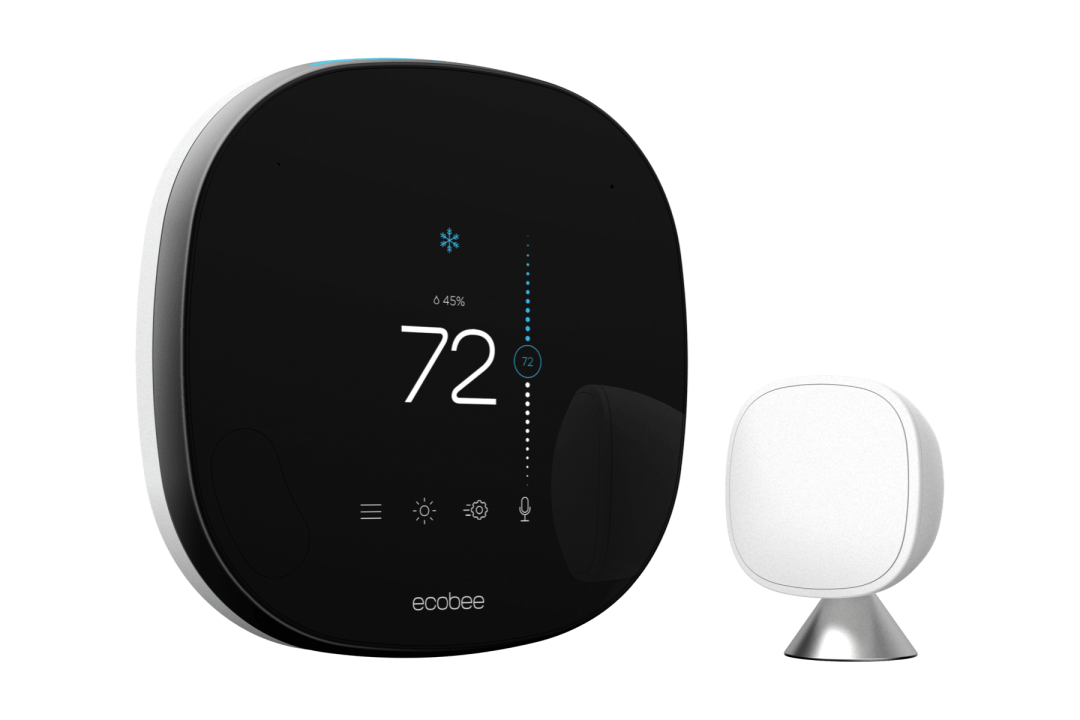
Meet your ecobee SmartThermostat

- System mode shows your current ecobee setting
- Humidity shows the indoor humidity in your home
- Indoor temperature
- Menu controls your system, schedule and more
- Temperature slider to adjust the temperature
- Volume control to turn the volume up/down, and enable/disable the microphone
- Quick changes to switch between Home and Away modes
- Weather shows you the local weather and forecast for the week
Here's what you'll find in the box.
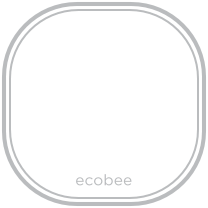
![Illustration of a thermostat]()
SmartThermostat
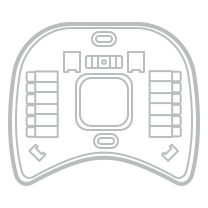
![Illustration of a thermostat backplate]()
Backplate
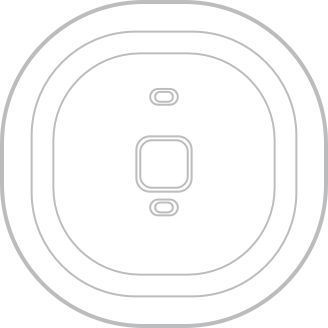
![Illustration of a trim plate]()
Trim plate
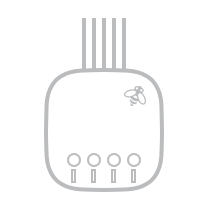
![Illustration of a power extender kit]()
Power extender kit (PEK)
Also included:
- Screws and drywall plugs
- Wire labels
- Installation guide
Tools you'll need:
Required
-
Drill (3/16” drill bit)
-
Flathead screwdriver
-
Phillips screwdriver
Optional
-
Hammer
-
Pencil
-
Wire stripper


